Har du ingen e-postadress för ditt företag? Klicka här!

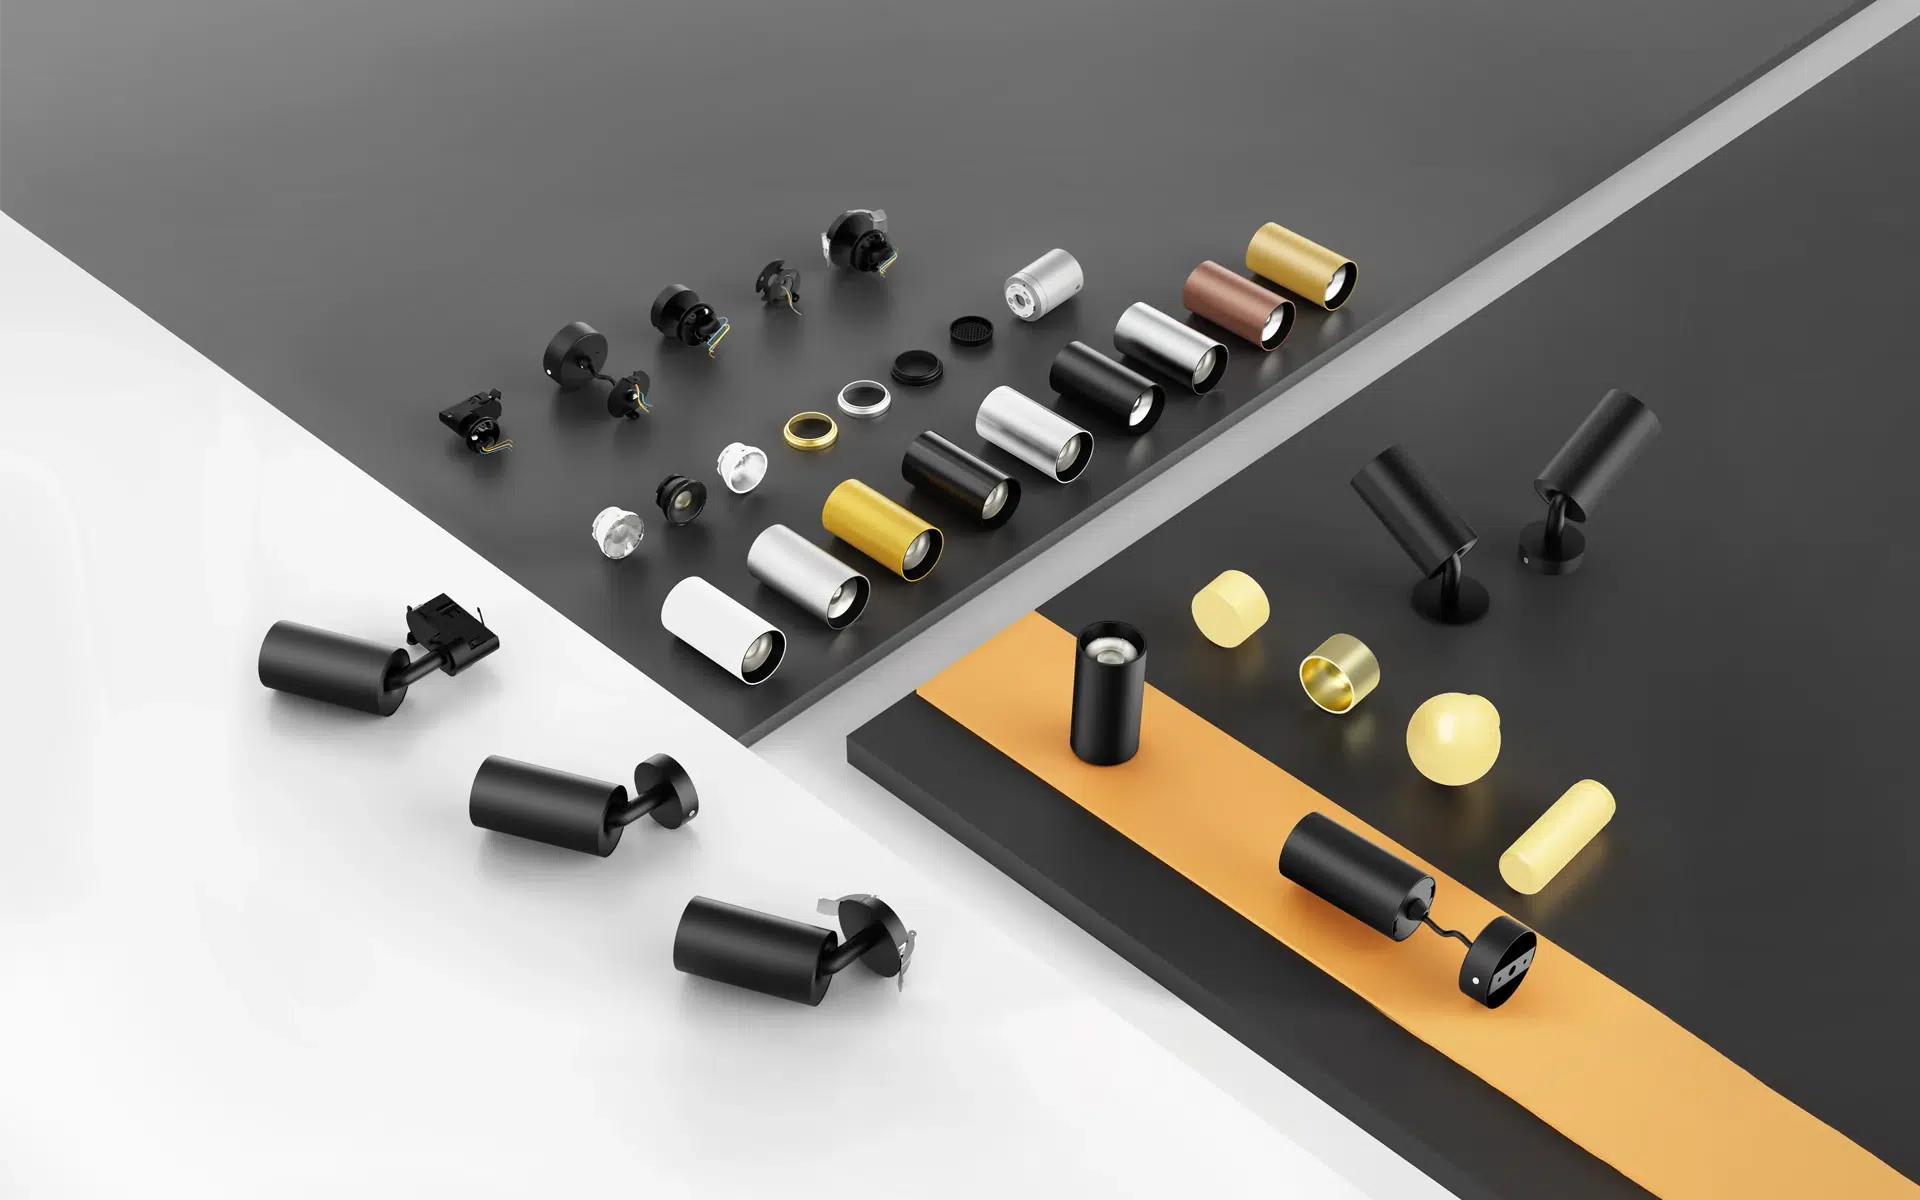


Guide till triac-dämpning för LED-drivdon och armaturer
Vad TRIAC-dämpning innebär
Har du någonsin undrat hur en vanlig väggströmbrytare smidigt reglerar ljusintensiteten ...
Have you ever wondered how a standard wall switch smoothly controls light intensity without needing extra control signal wires? The technology behind this classic setup is widely known as dimmerazione triac (TRIAC dimming).
In simple technical terms, a TRIAC (Triode for Alternating Current) is a high-speed electronic switch that modulates power delivery directly within an AC lighting circuit.
TRIAC systems regulate brightness using phase-cut dimming. Instead of lowering the voltage level, the switch physically chops off portions of the alternating current (AC) sine wave during each cycle:
We frequently recommend phase-cut control because it serves as the ultimate retrofit lighting solution for existing structures.
Control FeatureStandard Mains PowerTRIAC Phase-Cut PowerAC WaveformFull, uninterrupted sine waveChopped sine wave (phase-cut)Wiring RequiredStandard 2-wire systemStandard 2-wire system (no extra control cables)Control MethodBasic On/OffVariable AC dimming controlInstallation ComplexityLowLow (Ideal for legacy upgrades)
Because dimmerazione triac operates directly over standard two-wire household wiring, you don’t need to run complex signal wiring through walls. It remains the most accessible, cost-effective choice for modernizing residential and light commercial spaces.
Förståelse dimmerazione triac starts with how alternating current (AC) electricity reaches your light fixtures. Standard mains power delivers energy in a continuous AC sine wave. Instead of lowering the voltage directly, a TRIAC dimmer acts as a high-speed electronic switch that chops off sections of each wave cycle.
In an AC dimming control setup, the switch turns on and off up to 120 times per second. By slicing out part of the sine wave—a process called phase-cut dimming—we restrict the total amount of electrical energy reaching the light source.
Cutting electrical power in half does not mean your eyes will see a 50% reduction in light.
To achieve consistent, flicker-free dimming, all three components in your circuit must work together seamlessly:
ComponentFunction in CircuitPerformance Impact230V Dimmer SwitchChops the incoming AC sine wave.Sets the firing angle and limits total AC energy.Dimmable LED DriverReads chopped AC power and converts it to continuous DC.Smooths out current flow and prevents visible light flicker.LED Light FixtureConverts DC current into visible light output.Dictates final light output, color temperature, and efficiency.
As you lower the dimming level toward its absolute minimum, the electrical load behaves differently:
When implementing dimmerazione triac and phase-cut AC control, understanding the difference between leading-edge and trailing-edge dimming is essential for optimal performance. Both methods regulate light output by altering the AC sine wave, but they switch the voltage at different points in the cycle.
Leading-edge dimming is the classic phase-cut technology. It cuts the front portion (leading edge) of each AC half-wave right after it crosses zero. Mechanism: Uses a silicon-controlled rectifier or traditional TRIAC switch. Load behavior: Originally designed for inductive and resistive loads such as incandescent lamps, halogen bulbs, and magnetic transformers. Impact on LEDs: Creates high inrush current spikes when switching on mid-wave, which can stress electronic components and cause audible buzzing.
Trailing-edge dimming cuts the back portion (trailing edge) of the AC half-wave before it falls back to zero. Mechanism: Uses advanced MOSFET or IGBT transistors rather than a basic switch. Load behavior: Designed specifically for capacitive loads like electronic transformers and low-voltage circuitry. Impact on LEDs: Turns off smoothly, preventing sudden voltage spikes and significantly reducing electromagnetic interference.
While basic dimmerazione triac (leading-edge) remains widely available for quick budget retrofits, trailing-edge dimming is the superior choice for modern LED applications.
Because LEDs rely on delicate electronic drivers, trailing-edge control ensures a cleaner power delivery. It protects your dimbar LED-drivrutin from thermal stress, provides a lower minimum dimming threshold, and delivers a smooth, flicker-free dimming experience without annoying transformer hum.
FeatureLeading-Edge DimmingTrailing-Edge DimmingWaveform CutFront of the AC sine waveBack of the AC sine waveCore HardwareStandard TRIAC switchMOSFET / IGBT transistorsIdeal Load TypeResistive & Inductive (Incandescent, Halogen)Capacitive (LEDs, Electronic Drivers)LED CompatibilityModerate to Low (Risk of flicker/buzzing)High (Optimal control & silent operation)Inrush CurrentHigh spikesMinimal / Smooth transitionBest ApplicationLegacy retrofits & simple 230V dimmer switch setupsModern LED fixtures & premium installations
Even with advanced digital protocols on the market, dimmerazione triac remains the most practical and widely adopted lighting control method globally. In our experience across thousands of retrofit and upgrade projects, phase-cut technology continues to lead because it solves real-world installation challenges efficiently without blowing the budget.
Here is why this classic control method dominates both residential and light commercial applications:
Traditional incandescent bulbs act as simple resistive loads, but modern LED lighting relies on solid-state electronics. Standard AC phase-cut dimmers cut the voltage waveform, which can confuse non-dimmable LED electronics. When pairing standard LEDs with a dimmerazione triac circuit without proper driver matching, erratic performance is almost guaranteed.
When components are improperly matched, I frequently encounter four major operational issues on-site:
A dedicated dimbar LED-drivrutin bridges the gap between the chopped AC voltage from the dimmer switch and the constant DC current required by LED chips. Quality drivers actively smooth out power delivery, delivering stable, continuous output to ensure true flicker-free dimming down to minimal light levels.
To ensure seamless performance, keep these three rules in mind:
Run through this quick verification list before turning on power to any new lighting installation:

When setting up dimmerazione triac systems, we frequently run into operational headaches on site. Most problems stem from component mismatched hardware or inadequate circuit loads rather than faulty installation. Here is how I diagnose and fix the most common issues.
IssueRoot CauseSolutionLow-End Flicker / DropoutLoad falls below the minimum load dimmer thresholdAdjust the minimum trim pot on the dimmer, or add a synthetic load resistor (bleeder module).Audible BuzzingElectromagnetic interference or component vibrationUpgrade to a high-quality dimbar LED-drivrutin or switch from leading-edge to trailing-edge controls.Dead ZonesMismatched voltage calibration between switch and driverRecalibrate the physical dimming range settings on modern smart or digital phase-cut dimmers.Unstable OperationLoose connections or incorrect load sizingPerform a complete wiring verification and ensure total fixture wattage falls within 20% to 80% of rated capacity.
Replacing incompatible switches with dedicated flicker-free dimming hardware resolves over 90% of field issues immediately. Always verify that both the dimmer switch and driver match specifications before replacing entire lighting runs.
When we compare dimmerazione triac to other lighting control protocols, the fundamental difference comes down to how control signals travel and the wiring required. TRIAC-dimning uses AC phase-cut dimming directly over standard power lines, making it the most practical setup for retrofits. Modern commercial protocols like 0-10V, PWM, and DALI rely on extra control wires or digital signals for centralized management.
For residential projects and retrofits, dimmerazione triac offers the lowest labor and hardware costs because it runs directly on existing wiring structures.
Dimming ProtocolControl SignalWiring NeededRelative CostPrimary ApplicationTRIACAC Phase-CutStandard 2-wire ACLowestResidential, retrofits, small commercial0–10 VAnalog DC VoltagePower + 2 Control WiresModerateCommercial offices, industrial spacesPWMHigh-Frequency DCDC Output WiresModerateLED strip lighting, accent fixturesDALIDigital Bus SignalPower + 2 Digital WiresHighestSmart buildings, complex digital networks
When I source components for our power and lighting systems, selecting the right hardware for dimmerazione triac comes down to exact technical compatibility. Getting it wrong means dealing with flicker, buzzing, or premature driver failure.
Here is the exact checklist I use to match the controller and the load perfectly.
FeatureWhat to VerifyWhy it MattersVoltage & Power RatingMatch the local AC grid voltage (e.g., 230V) and total fixture wattage.Total load should utilize 80% of the dimmer’s maximum capacity for optimal thermal headroom.DimningsteknikChoose between leading-edge, trailing-edge, or a universal solution.Inductive and capacitive loads require specific phase-cut methods to prevent component strain.Minimum and Maximum LoadConfirm the exact wattage window, especially the minimum load dimmer requirements.LED loads that drop below the minimum threshold will flash, strobe, or fail to turn on.Safety ProtectionsLook for integrated short-circuit, overload, and thermal protection.Safeguards the dimbar LED-drivrutin and extends the overall operational lifespan of the system.
To ensure seamless LED dimmer compatibility, the project environment dictates the hardware strategy:
Installing dimmerazione triac controls into standard AC lighting circuits requires a clear understanding of line-voltage wiring. Because phase-cut dimming works directly on the alternating current waveform, proper placement keeps the system safe and flicker-free.
In a basic AC circuit, the TRIAC-dimmer acts as an inline switch placed in series along the Live (Line) conductor before reaching the load.
[AC Live Line] —> (Live In) [ TRIAC Dimmer ] (Live Out) —> [ Dimmable LED Driver ] —> [ LED Fixture ] [AC Neutral] ———————————————-> [ Dimmable LED Driver ]
Depending on the project scope, I recommend choosing between direct wall-plate dimmers and module-based controllers:
FeatureDirect Wall DimmerController-Based SystemInstallationReplaces standard wall switch directlyDin-rail or junction box inline moduleWiringSimple 2-wire or 3-wire in-wall setupMulti-channel wiring back to a central panelControl TypeManual rotary or push-button knobSmart control, push-dim, RF, or home automationBest ApplicationSingle-room retrofits & residential projectsLarge commercial setups & smart homes
Before wiring any 230V dimmer switch or dimmer module, always verify these four technical factors:
High-voltage AC dimming control requires strict adherence to electrical safety protocols. Always shut off main circuit power at the breaker and test wires with a non-contact voltage tester before touching any connections. If you are unsure about line wiring, hire a licensed electrician to handle the installation.

When it comes to cost-effective phase-cut control, dimmerazione triac remains a top choice for both residential and light commercial spaces. We find that this technology excels most in projects where you want to keep the existing two-wire infrastructure while upgrading to modern, energy-efficient fixtures.
Here is where a standard TRIAC-dimmer setup delivers the best performance:
Medan dimmerazione triac (TRIAC dimming) is my go-to recommendation for standard residential and small retrofit projects, it isn’t a one-size-fits-all solution. As lighting projects scale up in operational complexity, traditional analog phase-cut AC dimming control reaches its physical limits.
Here is where I advise moving away from TRIAC setups in favor of dedicated digital or low-voltage protocols:
Knowing these physical boundaries upfront prevents costly redesigns and ensures your lighting control system actually matches your facility’s scale.
We use a TRIAC-dimmer to adjust the brightness of lighting fixtures by chopping the AC voltage waveform—a method called phase-cut dimming. It provides reliable AC dimming control for halogen, incandescent, and LED lighting in residential and light commercial spaces without requiring extra control wiring.
Yes. However, it requires a compatible dimbar LED-drivrutin or dimmable LED bulb. Because LEDs operate on direct current (DC), the driver must properly translate the chopped AC signal into smooth DC output to achieve flicker-free dimming.
LED flickering typically happens due to three main factors: Load shortfall: The total circuit power drops below the minimum load dimmer rating. Type mismatch: Pairing an old leading-edge dimming switch with modern electronic LED drivers. Non-dimmable components: Attempting dimmerazione triac on standard, non-dimmable LED hardware.
In almost all modern applications, yes. Trailing-edge dimming provides a smoother power turn-off, eliminates high voltage spikes, reduces buzzing, and extends the lifespan of sensitive electronic LED components.
Inspect the product label and datasheet for clear specifications. Look for terms like: TRIAC Dimmable eller Phase-Cut DimmableLeading-Edge / Trailing-Edge compatible Mains phase dimming icons
If the label only indicates 0-10V, PWM, or DALI, the driver will not respond to a TRIAC AC line signal.
The minimum load is the lowest total wattage a circuit needs to keep the switch firing properly. Legacy units often required 25W–40W, causing low-power LED setups to flash or fail. Modern phase-cut controls designed for LEDs feature ultra-low minimum load thresholds—often as low as 1W to 3W.
Har du ingen e-postadress för ditt företag? Klicka här!
Har du ingen e-postadress för ditt företag? Klicka här!

Vi skickar filerna till dig inom 24 timmar!Har du ingen e-postadress för ditt företag? Klicka här!
 English English English
 Deutsch
 Español
 Português
 Français
 Русский
 العربية
 Italiano
 Türkçe
 Suomi
 Svenska
 Magyar
 Nederlands English English English Deutsch
Español
Português
Français
Русский
العربية
Italiano
Türkçe
Suomi
Svenska
Magyar
Nederlands